Portrait photography is about far more than simply capturing someone's likeness. At its best, it reveals the essence of a person, tells their story, and evokes emotion. Whether you're photographing professional models, family members, or clients, the principles of creating compelling portraits remain the same.
In this comprehensive guide, I'll share techniques and insights I've gathered over years of portrait photography to help you create images that truly connect with viewers.
Building Connection with Your Subject
The most important element of portrait photography isn't technical at all—it's the relationship between photographer and subject. A genuine connection leads to authentic expressions and natural poses.
Pre-Shoot Communication
Begin building rapport before the camera even comes out. Have a conversation about:
- The purpose of the portraits and how they'll be used
- Any specific ideas or concepts they have in mind
- Their comfort level with being photographed
- Clothing choices and styling that will complement the shoot concept
Creating Comfort During the Shoot
Even professional models can feel awkward in front of the camera. Try these approaches:
- Keep talking throughout the shoot to maintain engagement
- Demonstrate poses yourself rather than just describing them
- Show your subject a few successful images during the shoot to build confidence
- Play music that creates the right mood
- Take breaks to reset if your subject seems tense
Mastering Portrait Lighting
Lighting is the language of photography, and in portraits, it shapes how we perceive the subject's features and mood.
Natural Light Techniques
Natural light is accessible to everyone and can produce stunning results when used effectively:
- Window Light: Position your subject near a large window for soft, directional light. The larger the window, the softer the light. Distance from the window controls the light falloff.
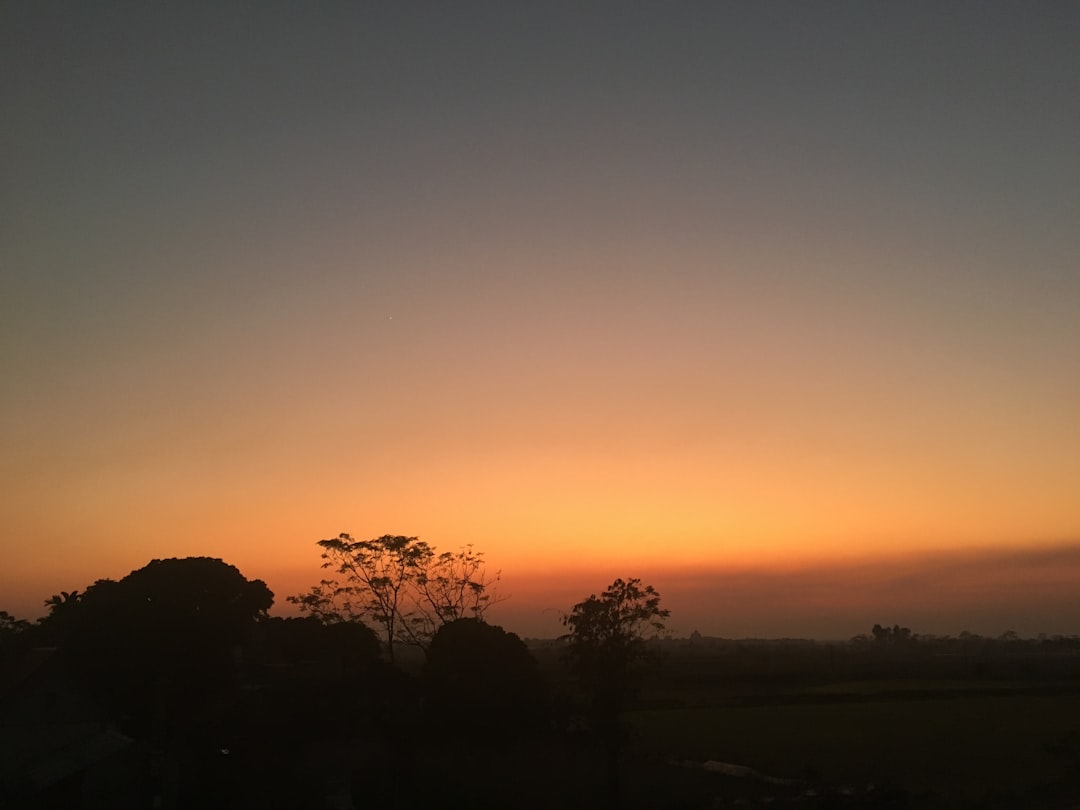
- Golden Hour: The hour after sunrise or before sunset provides warm, flattering light that minimizes harsh shadows and adds a beautiful glow to skin tones.
- Open Shade: On bright days, find areas of open shade (under a tree canopy, in the shadow of a building) for even, diffused lighting.
- Reflectors: Use a simple white or silver reflector to bounce light back into shadow areas, especially useful for filling in shadows under the eyes or chin.
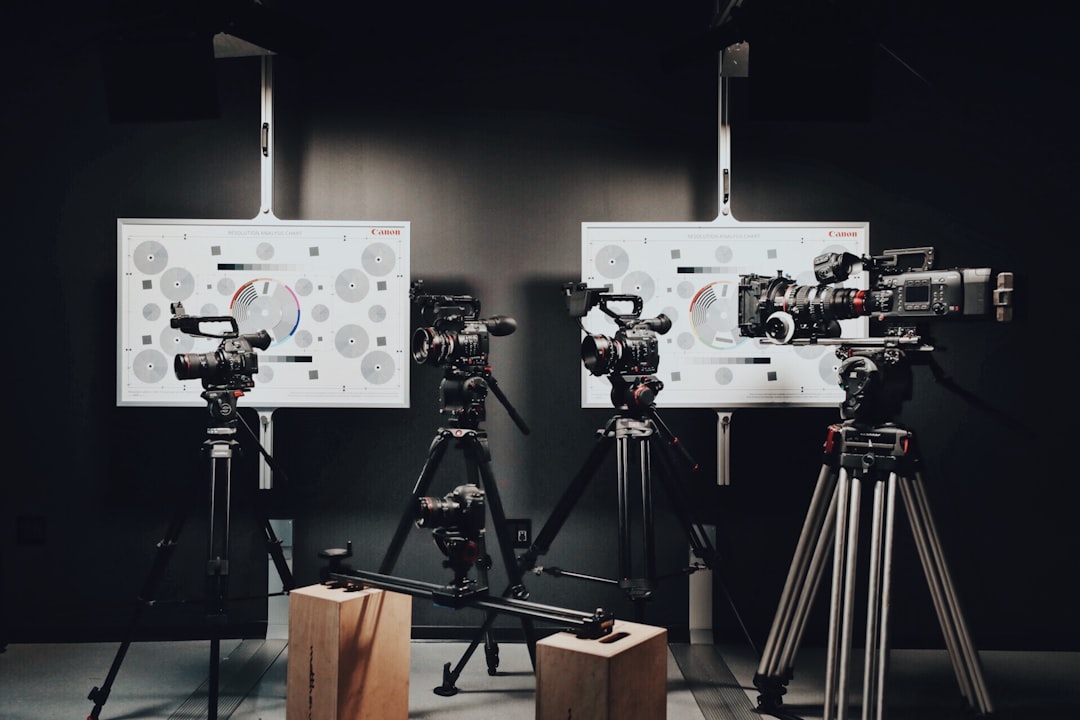
Studio Lighting Fundamentals
Studio lighting gives you complete control over your portrait environment:
- One-Light Setups: A single light source with a softbox or umbrella positioned at a 45-degree angle to your subject creates the classic Rembrandt lighting pattern with a small triangle of light on the cheek opposite the light.
- Two-Light Setups: Add a fill light at reduced power opposite your main light to soften shadows, or use a rim light behind your subject to create separation from the background.
- Three-Point Lighting: The traditional setup includes a key light, fill light, and hair/rim light for complete control over all aspects of your portrait.
The Art of Posing
Good posing makes your subject look natural and their best self while avoiding awkward angles or unflattering positions.
Fundamental Posing Guidelines
- Create Triangles: Avoid having arms flat against the body. Create triangles with arms and legs to add visual interest and slimming effects.
- Watch the Chin: Have subjects slightly extend their neck forward and down to define the jawline and avoid the appearance of a double chin.
- Turn the Shoulders: Having subjects turn slightly away from the camera creates a more slimming effect than shooting them straight-on.
- Mind the Hands: Hands should be relaxed, not showing full palms or clenched into fists. Curved fingers appear more elegant than straight ones.
- Create Asymmetry: Avoid perfectly symmetrical poses, which can look stiff. Shift weight to one leg, turn shoulders slightly, or position arms at different heights.
Posing Different Body Types
Effective posing should be tailored to each individual:
- For fuller figures, create space between arms and body, use slightly higher camera angles, and focus on face and eyes.
- For thin subjects, avoid poses that accentuate bony areas like elbows and shoulders. Clothing with some structure can add dimension.
- For taller subjects, seated poses or a lower camera angle can work well.
- For shorter subjects, elongate the body with straighter posture and avoid crowding the frame.
Composition and Framing
How you frame your subject within the image affects the portrait's impact and storytelling capability.
Classic Portrait Crops
- Headshot: Focuses on the face, typically cropped at the shoulders or upper chest.
- Half-Length: Shows from the head to the waist, allowing for more body language and hand positioning.
- Three-Quarter Length: Captures from head to just above or below the knees.
- Full-Length: Shows the entire person from head to toe, emphasizing overall posture and stance.
Compositional Elements
- Rule of Thirds: Place eyes or other key features along the grid lines or at their intersections.
- Leading Lines: Use natural elements or structures to lead the viewer's eye to your subject.
- Framing: Use doorways, windows, or natural elements to frame your subject within the image.
- Negative Space: Sometimes what you leave out is as important as what you include. Negative space can create mood and emphasize your subject.
Lens Selection and Camera Settings
Technical decisions significantly impact the look and feel of your portraits.
Lens Choices
- 85mm to 135mm: This focal length range is ideal for portraits, providing flattering compression that slims facial features while allowing comfortable working distance.
- 50mm: A versatile focal length that approximates the human eye's perspective. Good for environmental portraits showing more context.
- 35mm: Wider angle suitable for environmental portraits that include more background and context.
- 70-200mm Zoom: Excellent versatility for portrait sessions, allowing you to change composition without moving position.
Optimal Camera Settings
- Aperture: f/1.8 to f/4 creates pleasing background blur that separates your subject from the background. For group portraits, use f/5.6 or narrower to ensure everyone is in focus.
- Shutter Speed: At minimum, use 1/focal length (e.g., 1/100 sec for a 100mm lens) to avoid camera shake. For capturing children or active subjects, 1/250 sec or faster.
- ISO: Keep as low as possible for the cleanest image quality, typically 100-400 in good light. Don't fear raising it in challenging lighting conditions—better a slightly noisy image than a blurry one.
- Focus: For most portraits, focus precisely on the eye closest to the camera. Use single-point autofocus for maximum control.
Post-Processing for Portraits
Thoughtful editing enhances your portraits without making them look artificial.
Essential Editing Steps
- Color Correction: Ensure skin tones look natural and consistent. Pay attention to white balance and avoid overly red or yellow skin tones.
- Exposure and Contrast: Adjust overall brightness and tonal range. Avoid over-brightening which can flatten features.
- Skin Retouching: Take a minimal approach—remove temporary blemishes but preserve skin texture and characteristics that make your subject unique.
- Eyes Enhancement: Subtle brightening and increasing contrast in the eyes can make them more engaging without looking unnatural.
- Selective Sharpening: Apply sharpening selectively to eyes and hair while avoiding over-sharpening skin.
Conclusion
Portrait photography is a beautiful blend of technical skill and interpersonal connection. The best portraits capture not just how someone looks, but who they are. As you develop your portrait photography skills, remember that genuine interest in your subject will show in your images.
Practice these techniques regularly, but don't get so caught up in rules that you lose the spontaneity and authenticity that make portraits compelling. Some of the most memorable portraits break conventional rules but succeed because they capture something truthful about the subject.
What's your biggest challenge in portrait photography? Share in the comments below!